Create a gas estimation snap
This tutorial walks you through creating a snap that estimates gas fees.
The snap is based on the
Snaps template.
It uses the fetch API to request information from the internet, and displays custom information in
a confirmation dialog.
Prerequisites
Steps
1. Set up the project
Use the Snaps template by creating a new repository from the template.
Give your project a new name, such as gas-estimation-snap.
Clone the repository using the command line:
git clone git@github.com:<your-username>/gas-estimation-snap.git
To initialize your development environment with the required dependencies, in your project
directory, enter the command yarn.
2. Set a custom icon
Open /packages/snap/snap.manifest.json in a text editor.
This file has the main configuration details for your snap.
Edit the section under npm to change the iconPath to your new icon:
"location": {
   "npm": {
      "filePath": "dist/bundle.js",
      "iconPath": "images/gas.svg",
      "packageName": "snap",
      "registry": "https://registry.npmjs.org/"
   }
Then, place
this file
into the /packages/snap/images folder.
This is a free icon, Gas by Mello from
Noun Project.
3. Enable network access
To enable your snap to use the fetch API, request the
endowment:network-access permission by
modifying initialPermissions in snap.manifest.json:
"initialPermissions": {
  "snap_dialog": {},
  "endowment:rpc": {
    "dapps": true,
    "snaps": false
  },
  "endowment:network-access": {}
},
4. Fetch gas fee estimates
Open /packages/snap/src/index.ts.
This is the main code file for your snap.
To get a gas fee estimate, use the public API endpoint provided by
Open Source Ethereum Explorer.
Add the following getFees() function to the top of the file:
import { OnRpcRequestHandler } from '@metamask/snaps-types';
import { panel, text } from '@metamask/snaps-ui';

async function getFees() {
  const response = await fetch('https://beaconcha.in/api/v1/execution/gasnow');
  return response.text();
}
Then, modify the snap RPC message handler that displays the confirmation window.
This handler uses a switch statement to handle various request methods, but in this case there's
only one method, hello.
For this method, the handler returns a call to MetaMask with the parameters to display a
confirmation window, and passes some static strings.
Since getFees() returns a promise, you must use then() to resolve it in your hello method.
Rewrite the hello method with the following code:
export const onRpcRequest: OnRpcRequestHandler = ({ origin, request }) => {
  switch (request.method) {
    case 'hello':
      return getFees().then(fees => {
        return snap.request({
          method: 'snap_dialog',
          params: {
            type: 'Alert',
            content: panel([
              text(`Hello, **${origin}**!`),
              text(`Current gas fee estimates: ${fees}`),
            ]),
          }
        });
      });
    default:
      throw new Error('Method not found.');
  }
};
5. Build and test the snap
To build and test your snap:
Open
package.jsonin the root directory of the project, and bump the version (if the version is0.1.0, bump it to0.2.0).From the command line, run
yarn start. You should get a message that includes:You can now view site in the browser.
http://localhost:8000/Open
localhost:8000in your browser (with MetaMask Flask installed). A page like the following displays: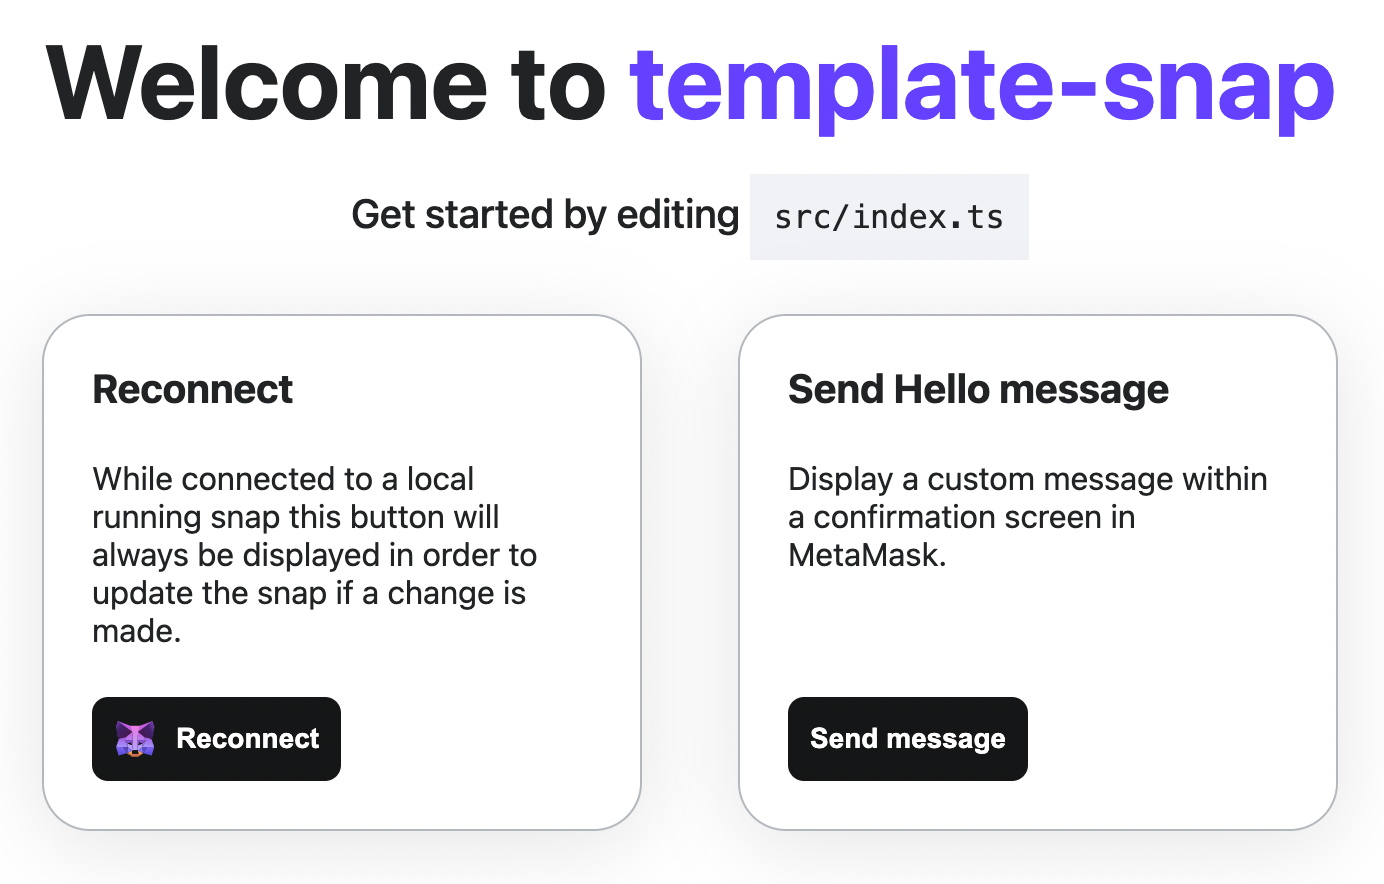
This is a boilerplate test dapp for installing and testing your snap.
Select Connect to connect Flask to the dapp. After connecting, you're prompted to install the snap with the following permissions:
- Allow websites to communicate directly with this snap.
- Access the internet.
- Display dialog windows in MetaMask.
Select Approve & install, then Send message. A dialog prompt displays with the response from the gas fee API:
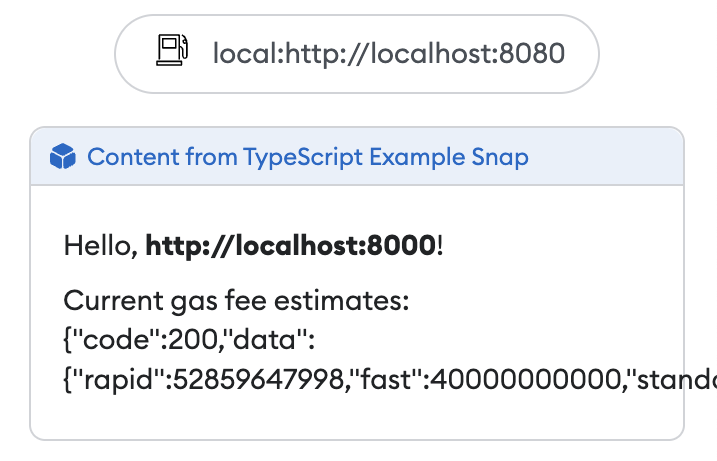
Congratulations! You've integrated a public API into MetaMask and displayed real-time gas fee estimates.
6. Next steps
Next, you can try parsing the JSON response from the remote API and displaying the fees in a nicely formatted way.
You can also update the fields in snap.manifest.json to match your custom snap:
proposedName- The name of your snap.description- The description of your snap.repository- The URL of your cloned GitHub repository.source- Theshasumis set automatically when you build from the command line. If you decided to publish your snap to npm, update thelocationto its published location.
Similarly, you should update the name, version, description, and repository sections of
/packages/snap/package.json even if you don't plan to publish your snap to npm.
The version field in snap.manifest.json inherits the version field from package.json.
Lastly, you can update the content of /packages/site/src/pages/index.tsx, such as changing the
name of the method for showing gas fee estimates.
If you change the method name, make sure to change the method name in /packages/snap/src/index.ts
to match.
Once you've made all necessary changes, you can publish your snap to npm.